
Adding Conditional Control to Text-to-Image Diffusion Models (ControlNet)은 Lvmin Zhang과 Maneesh Agrawala에 의해 쓰여졌습니다.
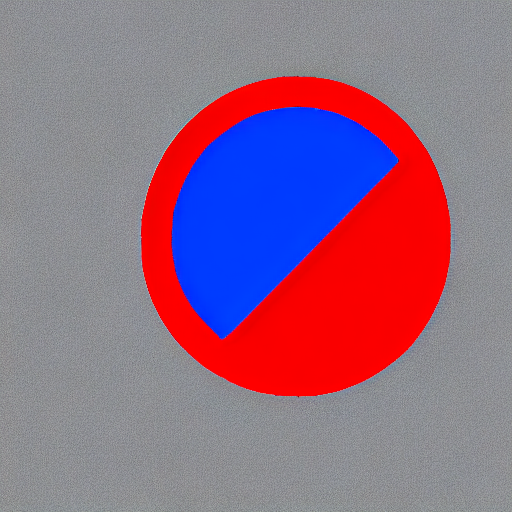
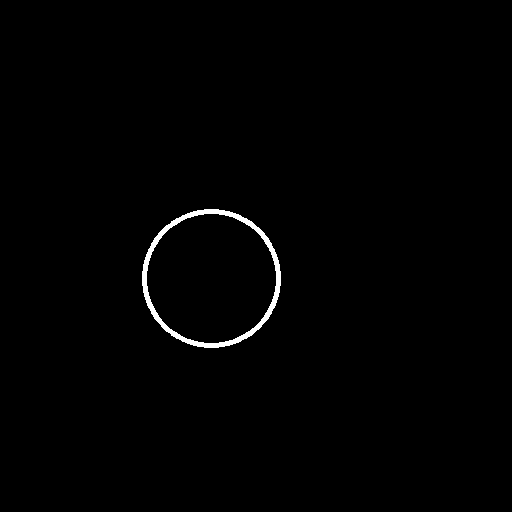
이 예시는 원본 ControlNet 리포지토리에서 예시 학습하기에 기반합니다. ControlNet은 원들을 채우기 위해 small synthetic dataset을 사용해서 학습됩니다.
아래의 스크립트를 실행하기 전에, 라이브러리의 학습 의존성을 설치해야 합니다.
[!WARNING] 가장 최신 버전의 예시 스크립트를 성공적으로 실행하기 위해서는, 소스에서 설치하고 최신 버전의 설치를 유지하는 것을 강력하게 추천합니다. 우리는 예시 스크립트들을 자주 업데이트하고 예시에 맞춘 특정한 요구사항을 설치합니다.
위 사항을 만족시키기 위해서, 새로운 가상환경에서 다음 일련의 스텝을 실행하세요:
git clone https://github.com/huggingface/diffusers
cd diffusers
pip install -e .
그 다음에는 예시 폴더으로 이동합니다.
cd examples/controlnet
이제 실행하세요:
pip install -r requirements.txt
🤗Accelerate 환경을 초기화 합니다:
accelerate config
혹은 여러분의 환경이 무엇인지 몰라도 기본적인 🤗Accelerate 구성으로 초기화할 수 있습니다:
accelerate config default
혹은 당신의 환경이 노트북 같은 상호작용하는 쉘을 지원하지 않는다면, 아래의 코드로 초기화 할 수 있습니다:
from accelerate.utils import write_basic_config

write_basic_config()
자체 데이터셋을 사용하기 위해서는 학습을 위한 데이터셋 생성하기 가이드를 확인하세요.
이 학습에 사용될 다음 이미지들을 다운로드하세요:
wget https://huggingface.co/datasets/huggingface/documentation-images/resolve/main/diffusers/controlnet_training/conditioning_image_1.png

wget https://huggingface.co/datasets/huggingface/documentation-images/resolve/main/diffusers/controlnet_training/conditioning_image_2.png
MODEL_NAME 환경 변수 (Hub 모델 리포지토리 아이디 혹은 모델 가중치가 있는 디렉토리로 가는 주소)를 명시하고 pretrained_model_name_or_path 인자로 환경변수를 보냅니다.
학습 스크립트는 당신의 리포지토리에 diffusion_pytorch_model.bin 파일을 생성하고 저장합니다.
export MODEL_DIR="stable-diffusion-v1-5/stable-diffusion-v1-5"
export OUTPUT_DIR="path to save model"
accelerate launch train_controlnet.py \
--pretrained_model_name_or_path=$MODEL_DIR \
--output_dir=$OUTPUT_DIR \
--dataset_name=fusing/fill50k \
--resolution=512 \
--learning_rate=1e-5 \
--validation_image "./conditioning_image_1.png" "./conditioning_image_2.png" \
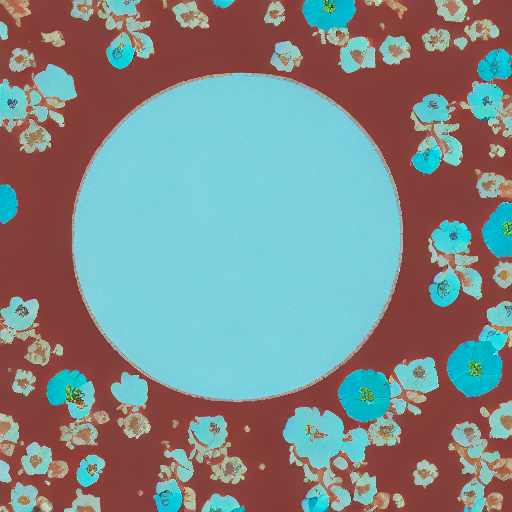
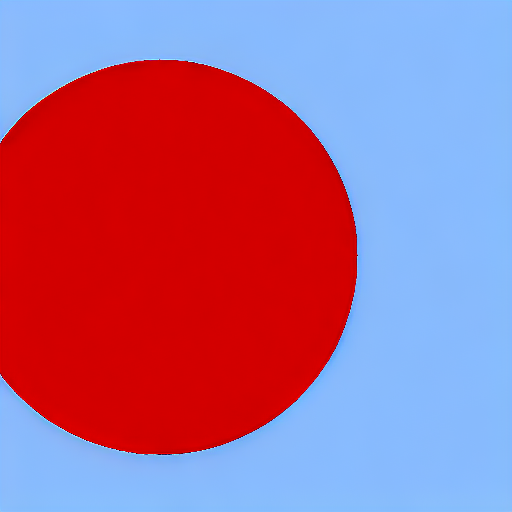
--validation_prompt "red circle with blue background" "cyan circle with brown floral background" \
--train_batch_size=4 \
--push_to_hub
이 기본적인 설정으로는 ~38GB VRAM이 필요합니다.
기본적으로 학습 스크립트는 결과를 텐서보드에 기록합니다. 가중치(weight)와 편향(bias)을 사용하기 위해 --report_to wandb 를 전달합니다.
더 작은 batch(배치) 크기로 gradient accumulation(기울기 누적)을 하면 학습 요구사항을 ~20 GB VRAM으로 줄일 수 있습니다.
export MODEL_DIR="stable-diffusion-v1-5/stable-diffusion-v1-5"
export OUTPUT_DIR="path to save model"

accelerate launch train_controlnet.py \
 --pretrained_model_name_or_path=$MODEL_DIR \
 --output_dir=$OUTPUT_DIR \
 --dataset_name=fusing/fill50k \
 --resolution=512 \
 --learning_rate=1e-5 \
 --validation_image "./conditioning_image_1.png" "./conditioning_image_2.png" \
 --validation_prompt "red circle with blue background" "cyan circle with brown floral background" \
 --train_batch_size=1 \
 --gradient_accumulation_steps=4 \
  --push_to_hub
accelerate 은 seamless multi-GPU 학습을 고려합니다. accelerate과 함께 분산된 학습을 실행하기 위해 여기
의 설명을 확인하세요. 아래는 예시 명령어입니다:
export MODEL_DIR="stable-diffusion-v1-5/stable-diffusion-v1-5"
export OUTPUT_DIR="path to save model"

accelerate launch --mixed_precision="fp16" --multi_gpu train_controlnet.py \
 --pretrained_model_name_or_path=$MODEL_DIR \
 --output_dir=$OUTPUT_DIR \
 --dataset_name=fusing/fill50k \
 --resolution=512 \
 --learning_rate=1e-5 \
 --validation_image "./conditioning_image_1.png" "./conditioning_image_2.png" \
 --validation_prompt "red circle with blue background" "cyan circle with brown floral background" \
 --train_batch_size=4 \
 --mixed_precision="fp16" \
 --tracker_project_name="controlnet-demo" \
 --report_to=wandb \
  --push_to_hub
| 푸른 배경과 빨간 원 | |
|
|
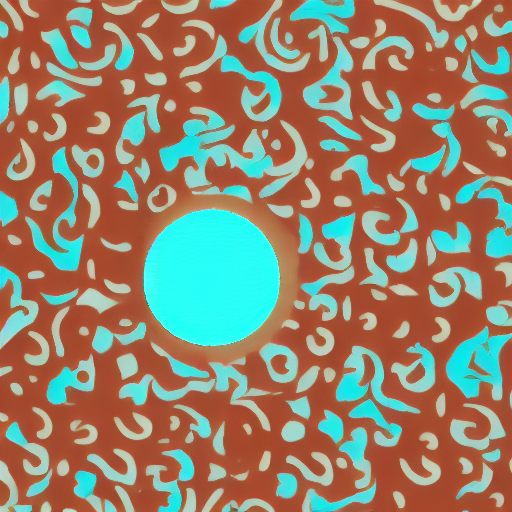
| 갈색 꽃 배경과 청록색 원 | |
|
|
| 푸른 배경과 빨간 원 | |
|
 |
| 갈색 꽃 배경과 청록색 원 | |
|
 |
16GB GPU에서 학습하기 위해 다음의 최적화를 진행하세요:
이제 학습 스크립트를 시작할 수 있습니다:
export MODEL_DIR="stable-diffusion-v1-5/stable-diffusion-v1-5"
export OUTPUT_DIR="path to save model"

accelerate launch train_controlnet.py \
 --pretrained_model_name_or_path=$MODEL_DIR \
 --output_dir=$OUTPUT_DIR \
 --dataset_name=fusing/fill50k \
 --resolution=512 \
 --learning_rate=1e-5 \
 --validation_image "./conditioning_image_1.png" "./conditioning_image_2.png" \
 --validation_prompt "red circle with blue background" "cyan circle with brown floral background" \
 --train_batch_size=1 \
 --gradient_accumulation_steps=4 \
 --gradient_checkpointing \
 --use_8bit_adam \
  --push_to_hub
12GB GPU에서 실행하기 위해 다음의 최적화를 진행하세요:
None으로 설정export MODEL_DIR="stable-diffusion-v1-5/stable-diffusion-v1-5"
export OUTPUT_DIR="path to save model"
accelerate launch train_controlnet.py \
--pretrained_model_name_or_path=$MODEL_DIR \
--output_dir=$OUTPUT_DIR \
--dataset_name=fusing/fill50k \
--resolution=512 \
--learning_rate=1e-5 \
--validation_image "./conditioning_image_1.png" "./conditioning_image_2.png" \
--validation_prompt "red circle with blue background" "cyan circle with brown floral background" \
--train_batch_size=1 \
--gradient_accumulation_steps=4 \
--gradient_checkpointing \
--use_8bit_adam \
--enable_xformers_memory_efficient_attention \
--set_grads_to_none \
--push_to_hub
pip install xformers으로 xformers을 확실히 설치하고 enable_xformers_memory_efficient_attention을 사용하세요.
우리는 ControlNet을 지원하기 위한 DeepSpeed를 철저하게 테스트하지 않았습니다. 환경설정이 메모리를 저장할 때, 그 환경이 성공적으로 학습했는지를 확정하지 않았습니다. 성공한 학습 실행을 위해 설정을 변경해야 할 가능성이 높습니다.
8GB GPU에서 실행하기 위해 다음의 최적화를 진행하세요:
None으로 설정DeepSpeed는 CPU 또는 NVME로 텐서를 VRAM에서 오프로드할 수 있습니다. 이를 위해서 훨씬 더 많은 RAM(약 25 GB)가 필요합니다.
DeepSpeed stage 2를 활성화하기 위해서 accelerate config로 환경을 구성해야합니다.
구성(configuration) 파일은 이런 모습이어야 합니다:
compute_environment: LOCAL_MACHINE
deepspeed_config:
  gradient_accumulation_steps: 4
  offload_optimizer_device: cpu
  offload_param_device: cpu
  zero3_init_flag: false
  zero_stage: 2
distributed_type: DEEPSPEED